Exercise 1.3: Proactive Bot Defense
Objective
- Create a DoS profile
- Enable proactive bot defense
- Apply the policy to the appropriate virtual server
- Validate that the policy is working as expected
- Estimated time for completion: 20 minutes
Create Policy
Important
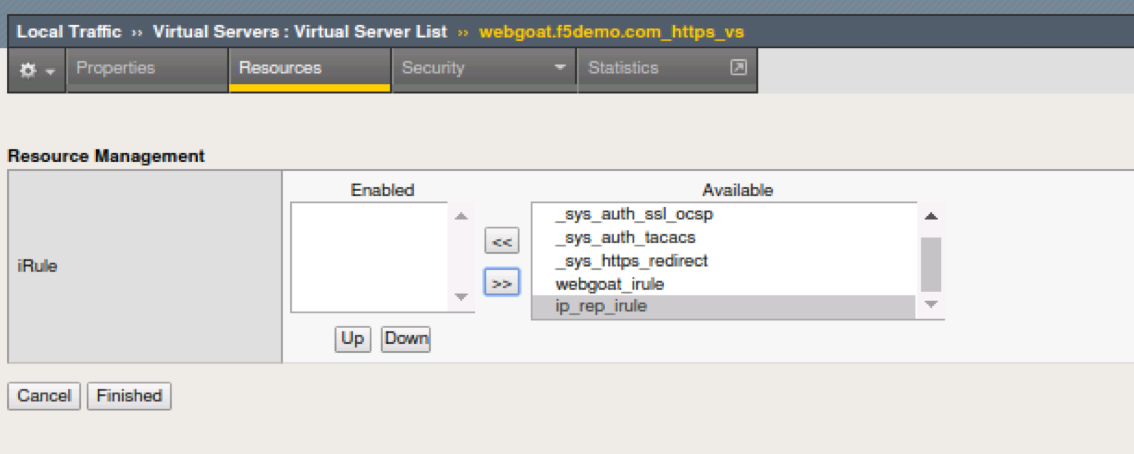
To clearly demonstrate just the Bot Defense profile,
please disable the Application Security Policy and iRule from the prior lab from the
webgoat.f5demo.com_https_vs virtual server!
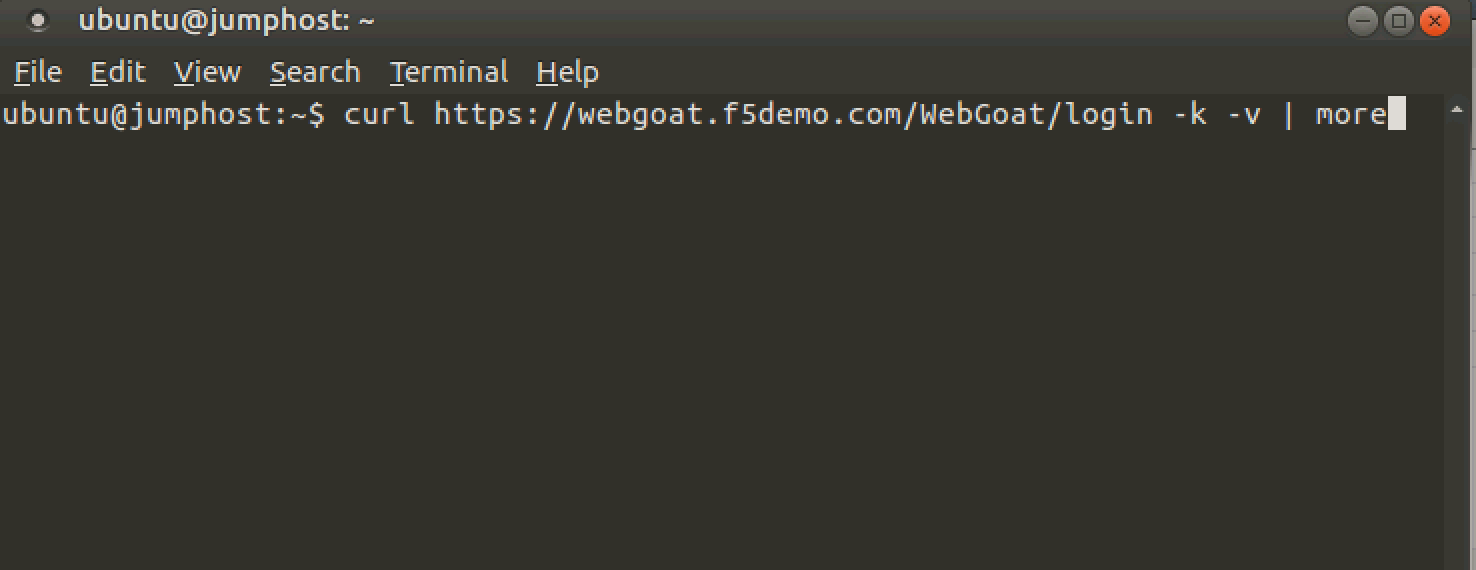
Open the Terminal application.
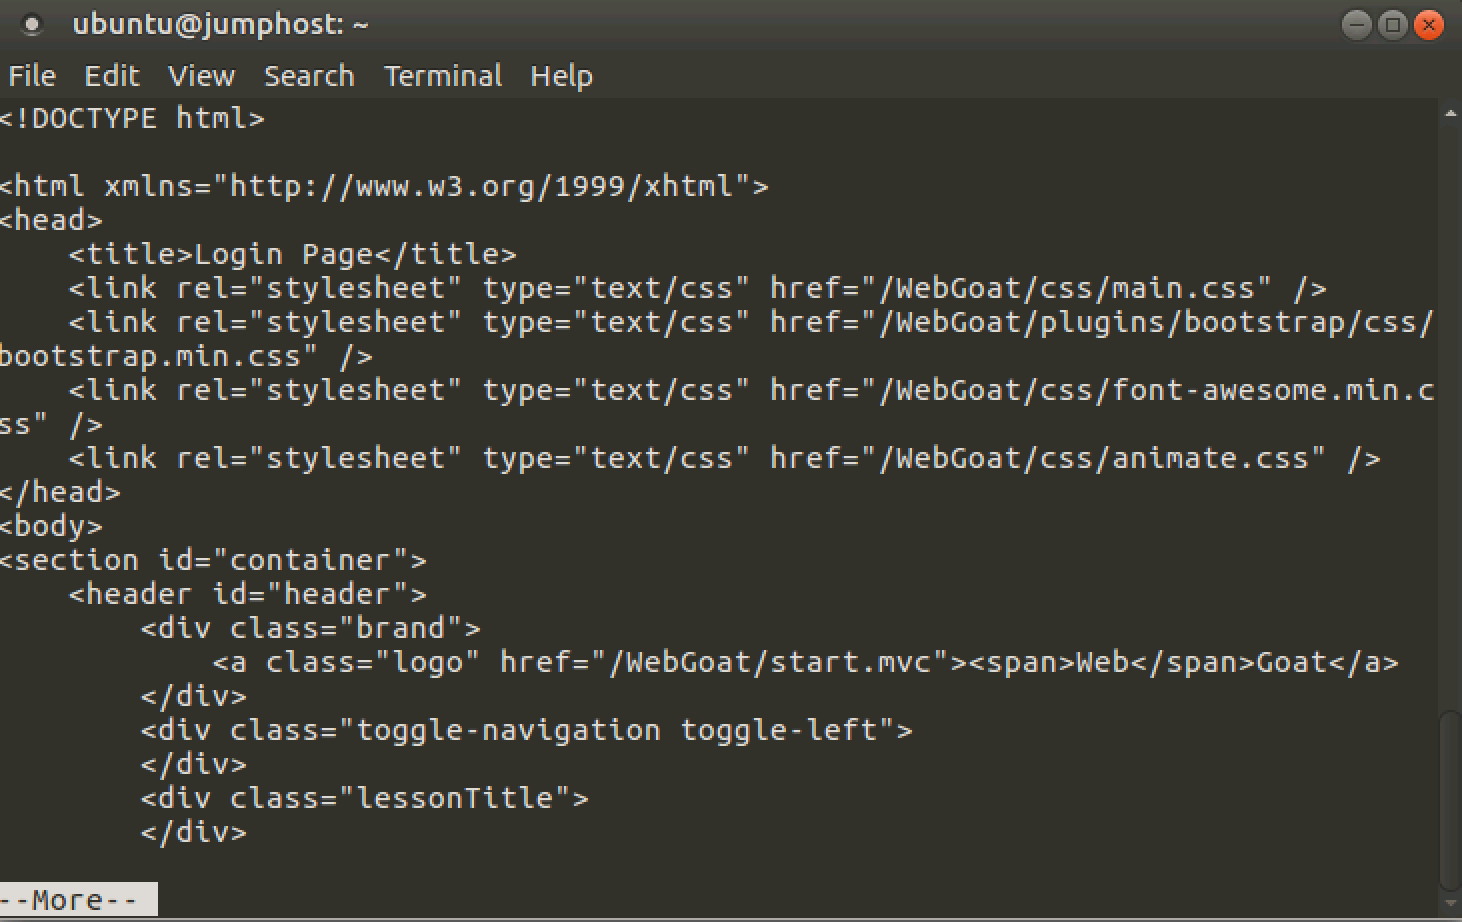
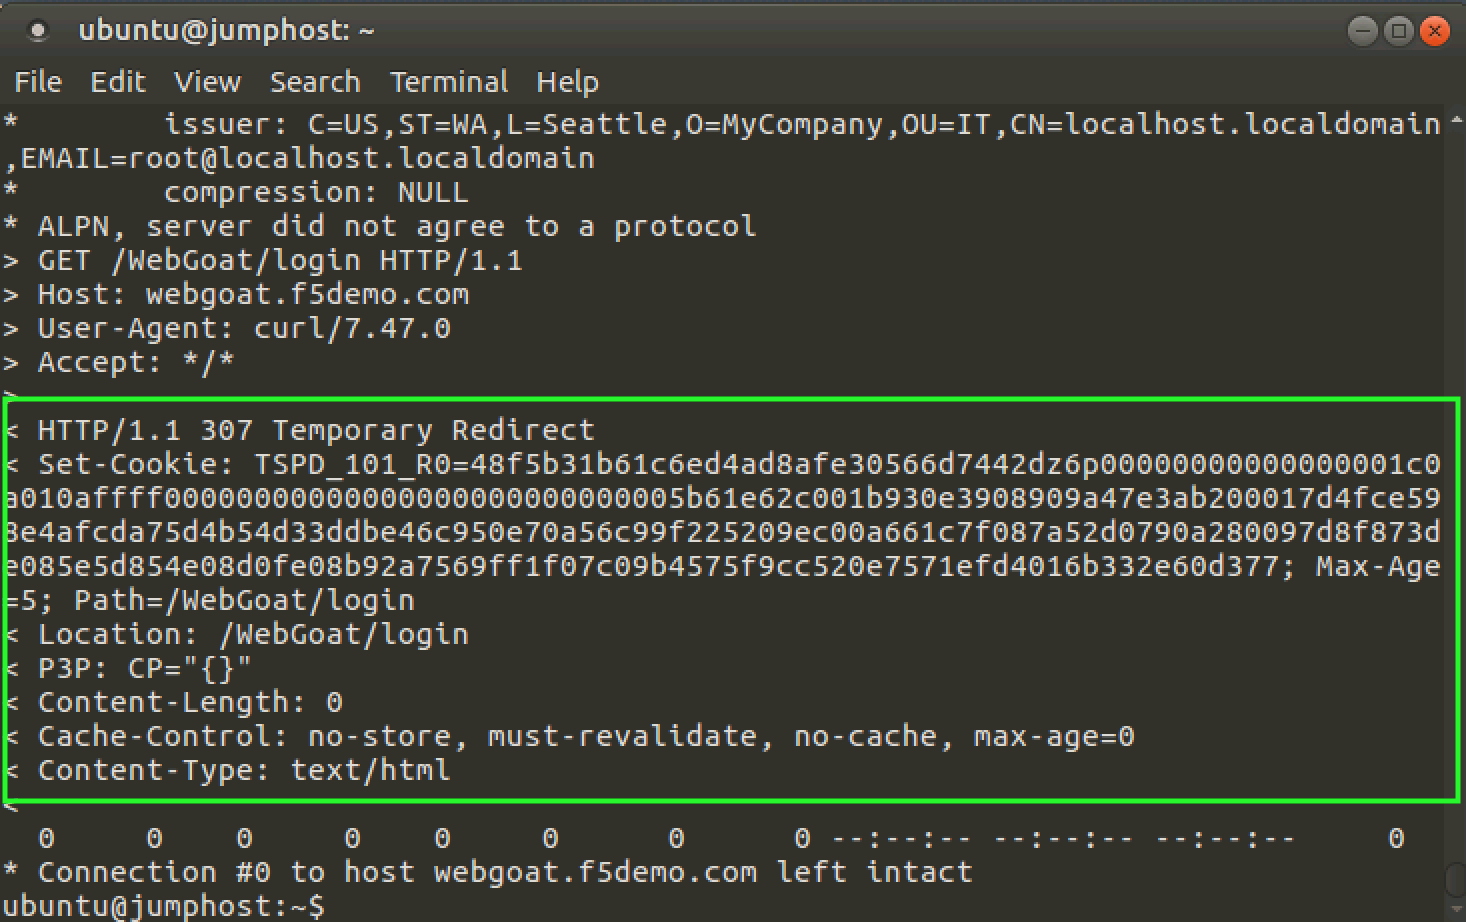
Run the following curl command to verify the site is loading without issue from this command line http utility. If the curl command is not successful (you are getting a “request rejected” error page), please let an instructor know.
curl https://webgoat.f5demo.com/WebGoat/login -k -v | more
- Input
- Output
On the Main tab, click Security > DoS Protection > DoS Profiles. The DoS Profiles screen opens.
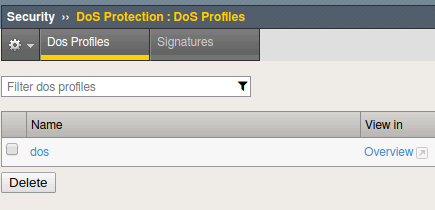
Click on the Create button.
Name the policy
webgoat_DoSand click Finished to complete the creation of this DoS profile.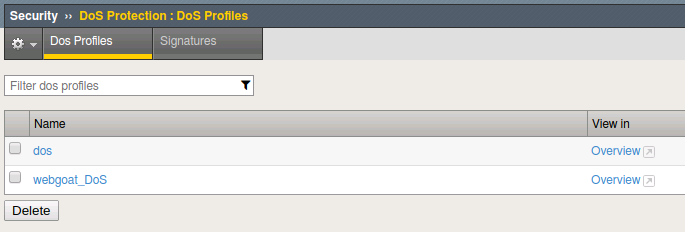
Configure Policy
Click the newly created
webgoat_DoSprofile listed under the Security > Dos Protection > DoS Profiles list.The profile’s properties menu will be displayed initially. Click on the Application Security tab at the top of this menu to begin configuring the policy.
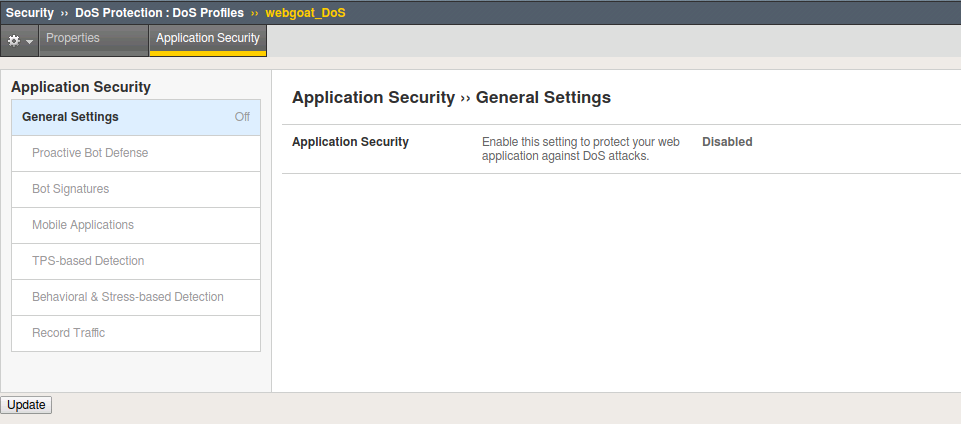
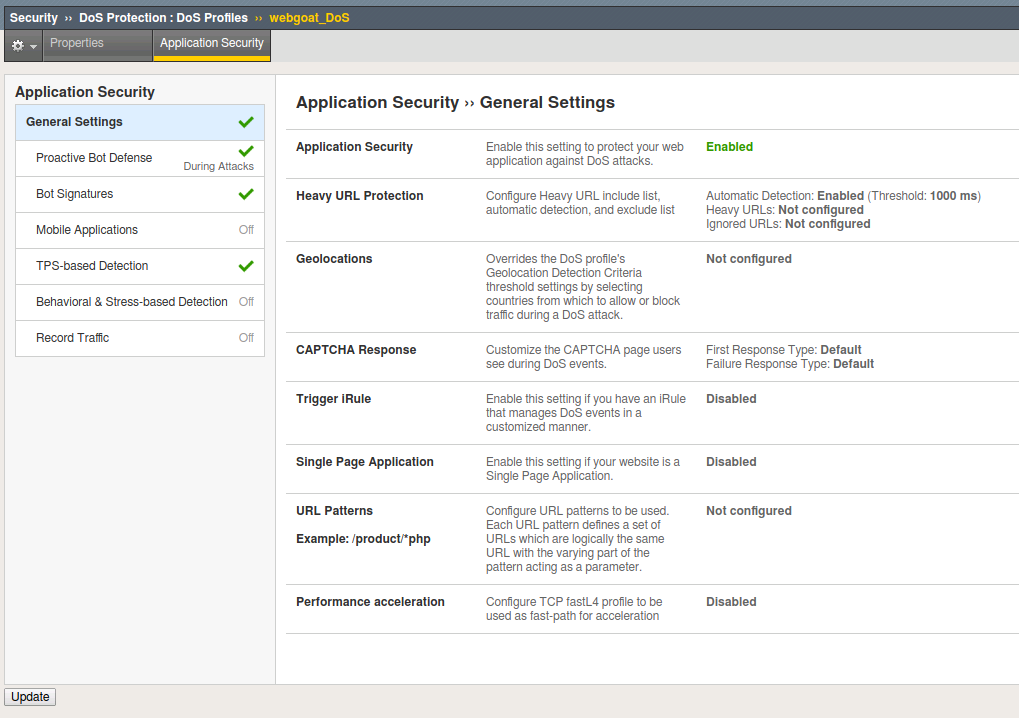
Under the Application Security tab > General Settings click the Edit link on the right-hand side of General Settings box and then check the
Enabledcheck box for Application Security to enable the DoS profile and allow additional settings to be configured.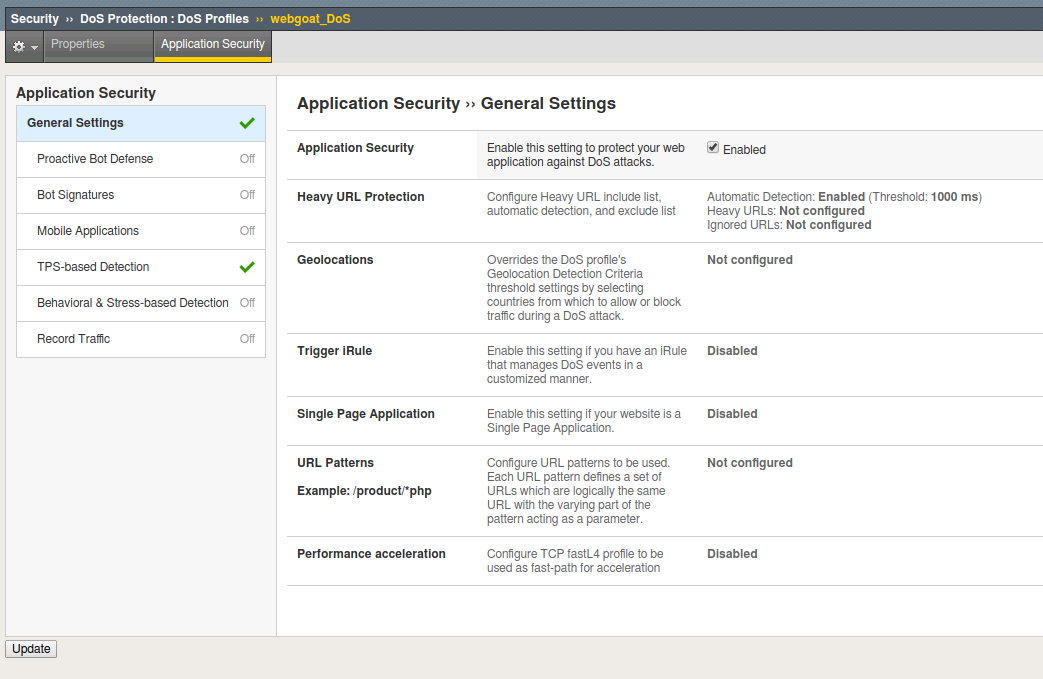
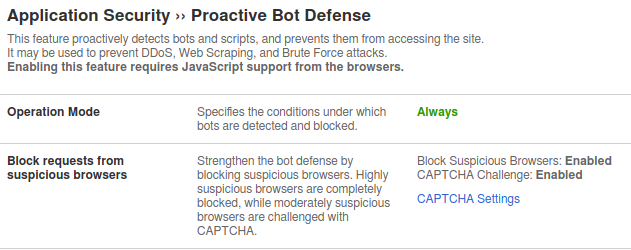
Select Proactive Bot Defense under the list of Application Security options for this DoS profile.
Click the Edit link on the right for the Application Security > Proactive Bot Defense menu and select Always from the drop-down menu for Operation Mode.
Set the Grace Period to 20 seconds. We will observe this in action shortly.
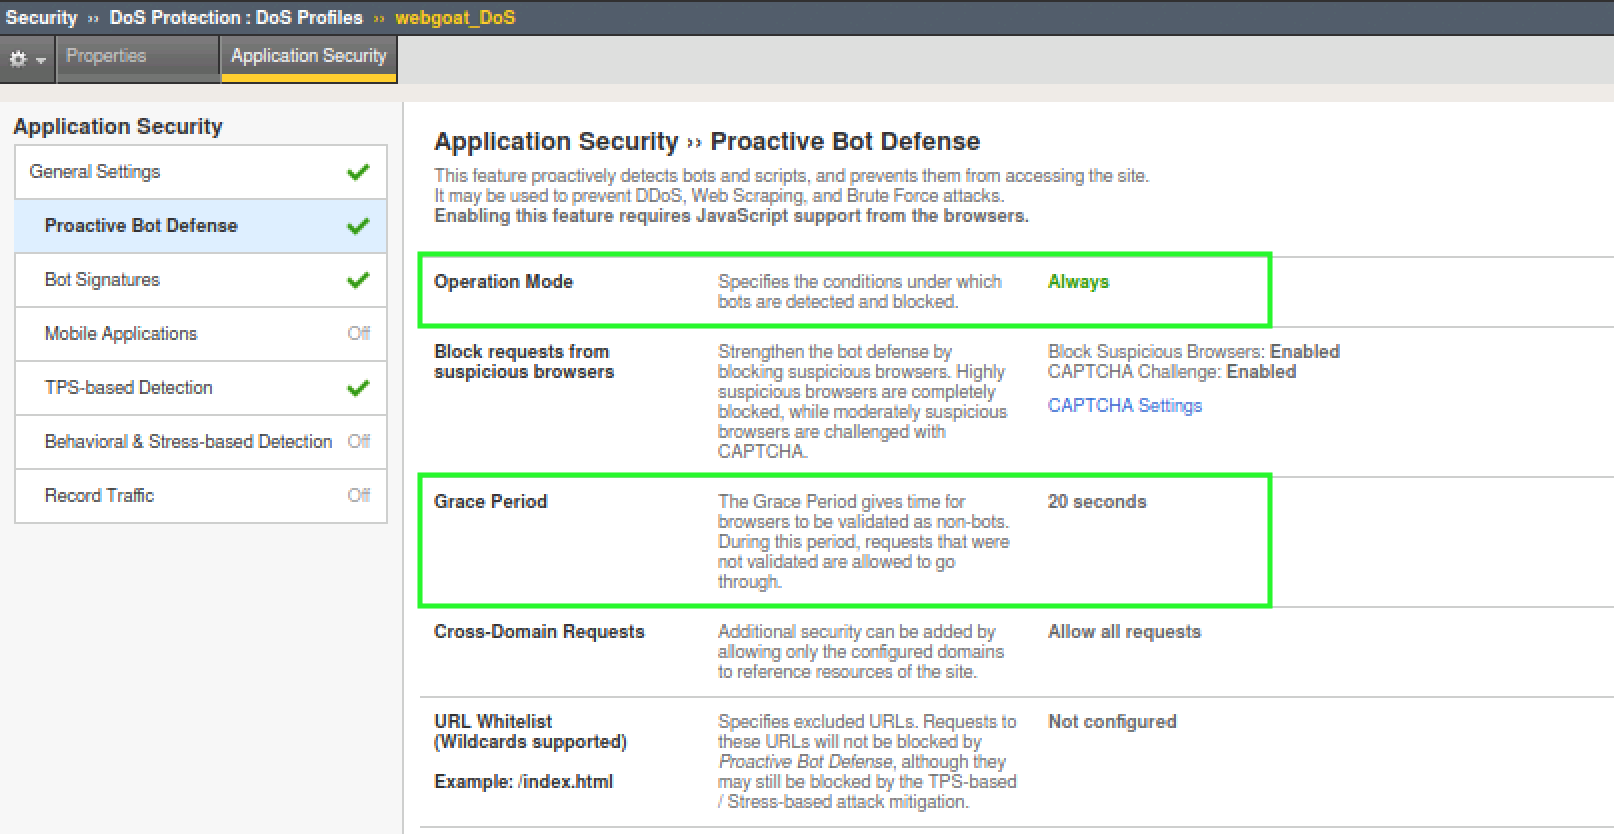
Notice that for Block requests from suspicious browsers the Block Suspicious Browsers setting is enabled by default.
At this point, you may want to take a moment and explore the other defaults that were turned on such as TPS based detection and BOT Signatures. Please don’t modify the defaults.
Click the Update button to complete the Proactive Bot Defense
webgoat_DoSprofile.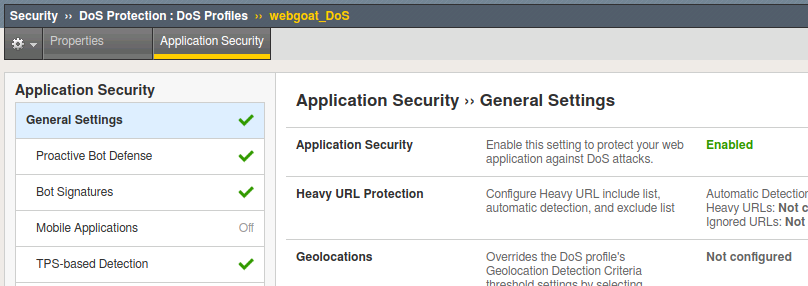
Apply Proactive Bot Defense Policy
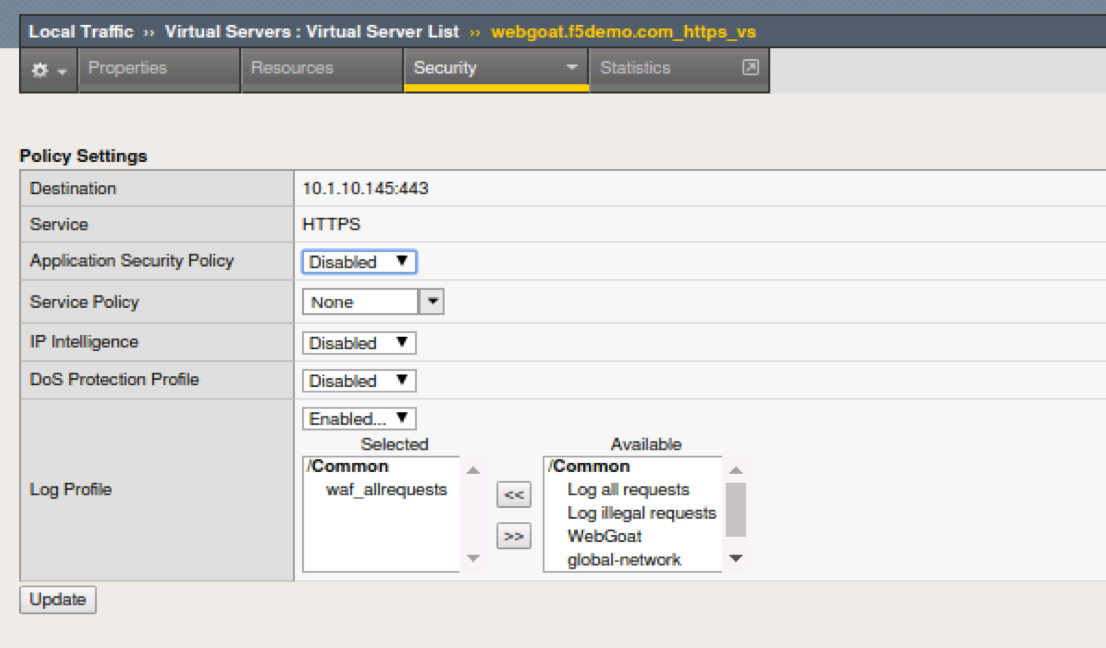
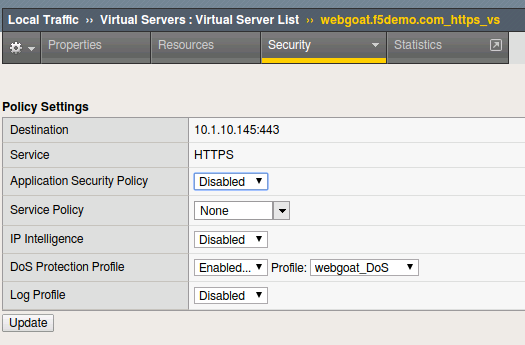
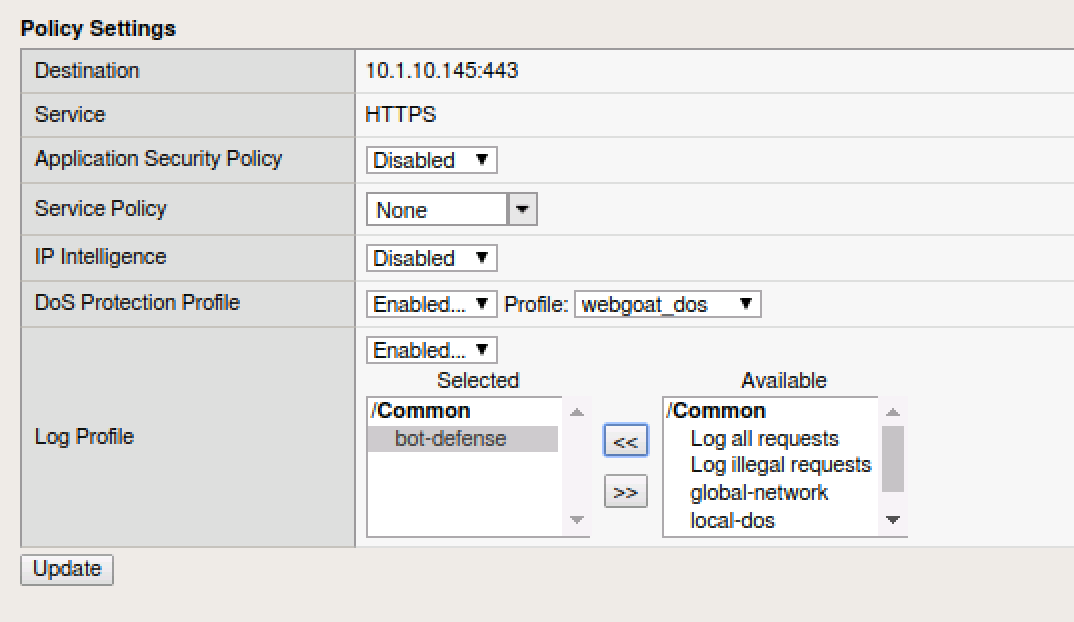
Under Local Traffic > Virtual Servers, click on
webgoat.f5demo.com_https_vs.Click on Policies under the Security tab at the top of the
webgoat.f5demo.com_https_vsdetails menu.In the DoS Protection Profile drop down menu, select
Enabled...and then select thewebgoat_DoSfor the profile.Click on the Update button to apply the policy.
Create Bot Defense Logging Profile
Open a new tab for the Configuration Utility and navigate to: Security > Event Logs > Logging Profiles then click the plus icon.
Enter a Profile Name
bot-defense, select the checkbox forBot Defense.Under the Bot Defense logging section, select the checkboxes for the following:
Local Publisher,Log Illegal Requests,Log Bot Signature Matched RequestsandLog Challenged Requests.Click Finished.
Note
You could have also modified the existing
waf_allrequestslogging profile and added BOT logging definitions.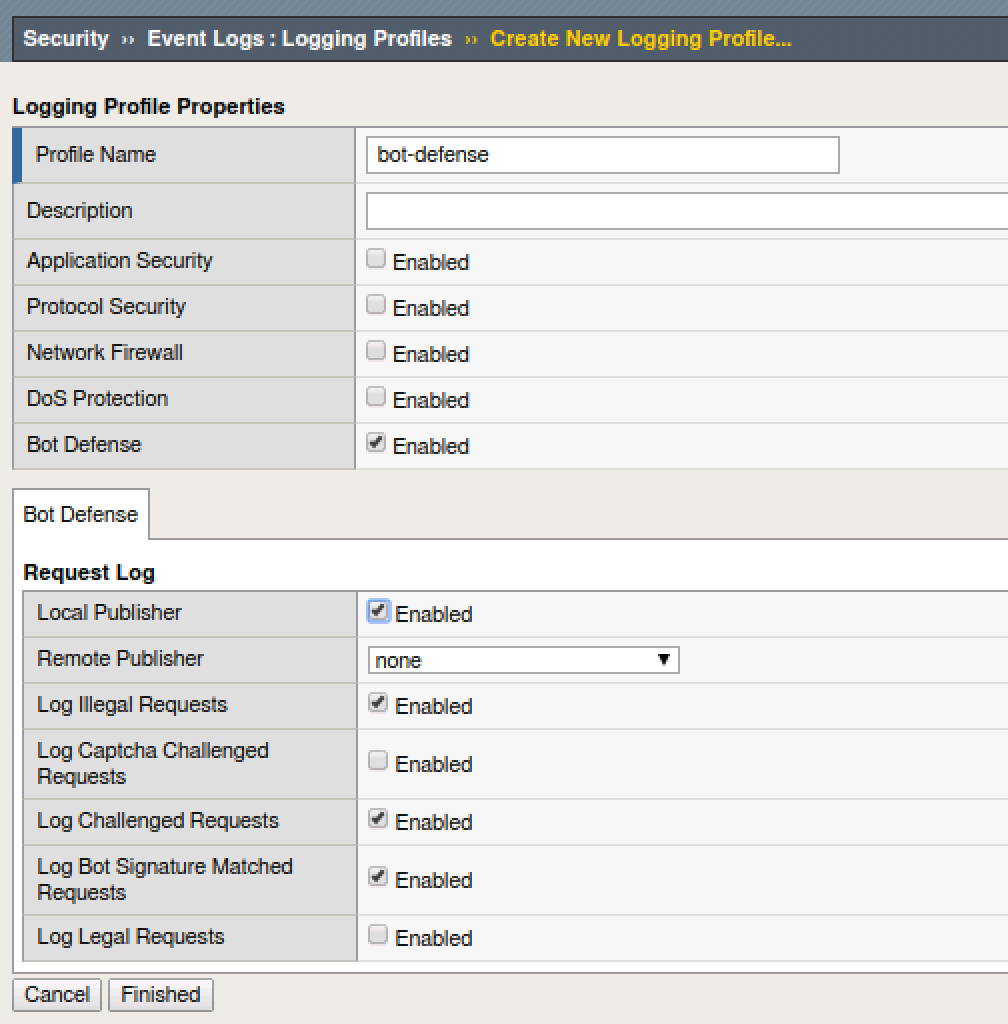
Apply Bot Defense Logging Profile
Under Local Traffic > Virtual Servers, click on
webgoat.f5demo.com_https_vs.Click on Policies under the Security tab at the top
Within the Available logging profiles menu, select
bot-defenseand then click the<<arrows to move the logging policy to theSelectedprofile.Click on the Update button to apply the policy.
Note
You can associate multiple logging profiles with a given virtual server. F5 allows for an incredible amount of logging flexibility. Most commonly you would have DoS, Bot Defense and ASM Security Policy events logged to a centralized SIEM platform, but there may be additional logging requirements such as a web team that would be interested in Bot Defense logs solely, while the SIEM continues to receive the union of DoS, Bot Defense and ASM Security Policy events.
Test the Proactive Bot Defense Policy
From the command line execute the following command several times:
curl https://webgoat.f5demo.com/WebGoat/login -k -v | more
Note
This can take a few seconds to kick in and then you will see ASM start issuing a redirect challenge and try to set a TS cookie. 307 Temporary Redirect
- Once the Grace Period of 20 seconds has expired you will see ASM start escalating the defense and start to return a javascript challenge.
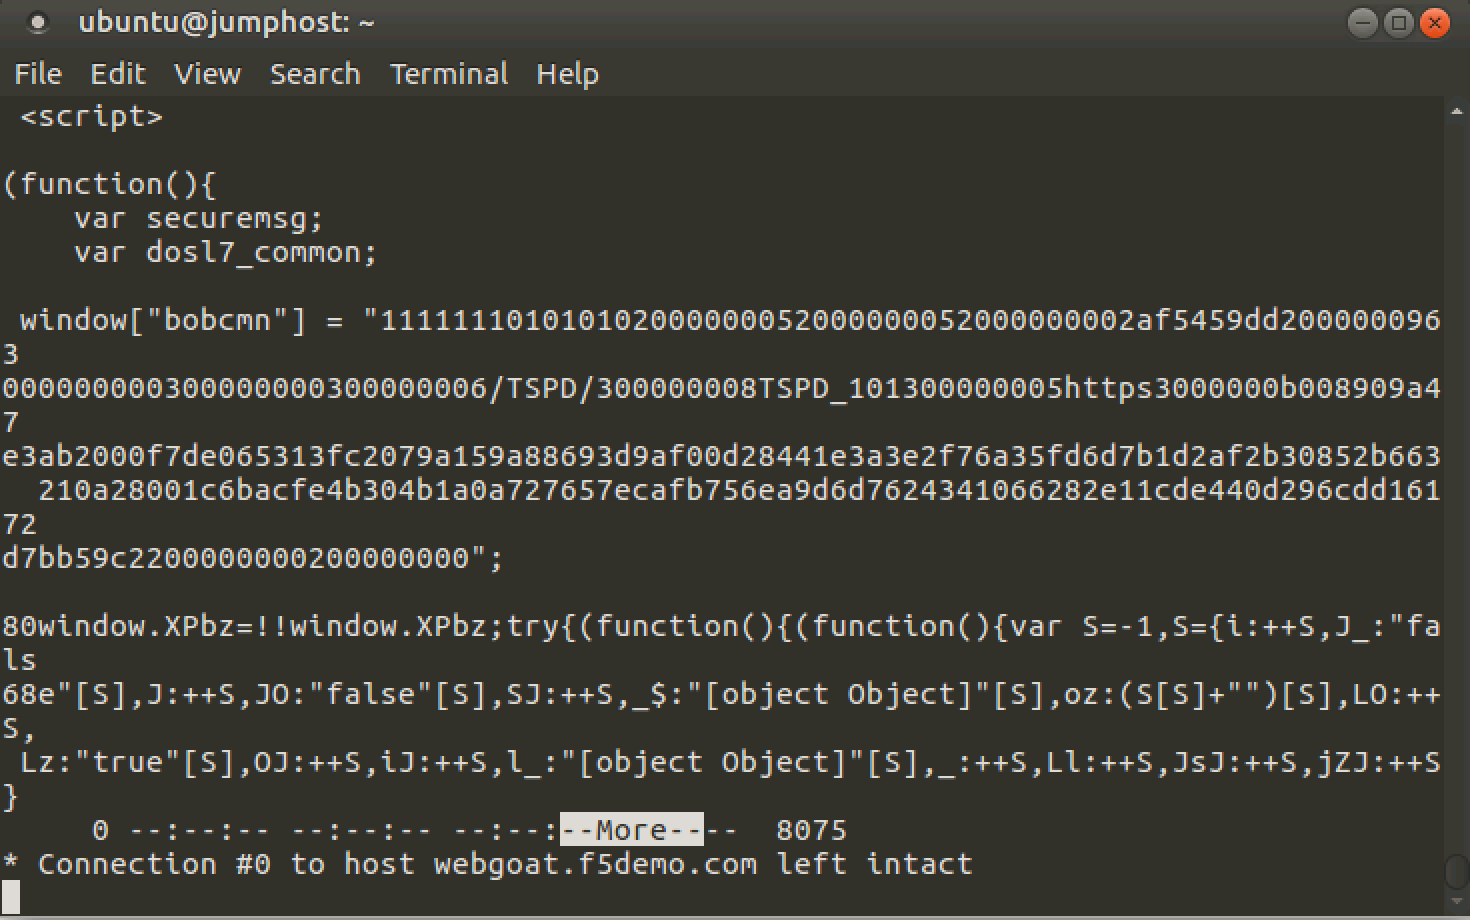
This bot is getting shot down in flames!
Validate that the Proactive Bot Defense Policy is Working
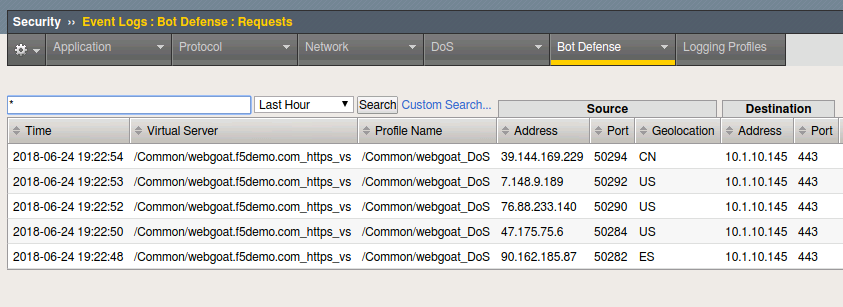
- Navigate to Security > Event Logs > Bot Defense > Requests.
- Notice that the detected bot activity has been logged and is now being displayed for review.
Important
This is very important to understand that we are logging bots in an entirely different internal logging system than the ASM events. Implementing Bot Defense keeps the ASM logs clean and actionable when there are millions of malicious attempts per day from bots.
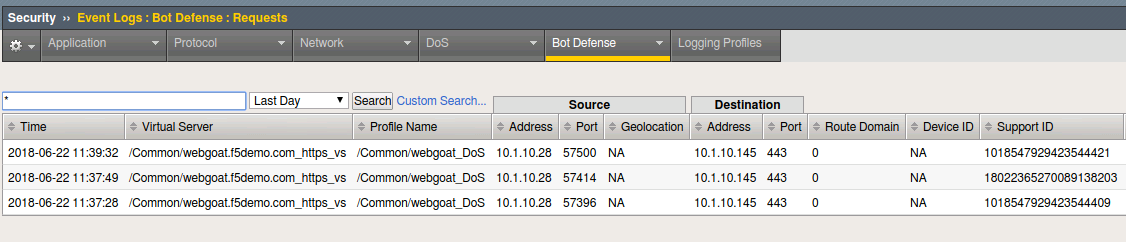
- Note the stated reason for the request being blocked. You may have to scroll to the right to see this reason. What was the stated reason?
BOT Signatures
Navigate to Security > DoS Protection > DoS Profiles
Click on the
webgoat_DoSprofile and then the Application Security tab to configure the policy.Select Proactive Bot Defense under the list of Application Security options.
In the Application Security > Proactive Bot Defense section, click the Edit link for Operation Mode and then change the setting from Always to During Attack and click Update to complete the policy change.
Run cURL again:
curl https://webgoat.f5demo.com/WebGoat/login -k -v | more
Note
The site should respond normally now every time because we are not “under attack” ASM uses TPS based detection (client-side) and Behavioral Stress detection (server-side) to determine when the system is under attack. Without the Advanced WAF license, Behavioral DoS Detection is limited to two virtual servers.
cURL is considered an HTTP Library tool and falls in the Benign Category.
Important
Just how benign are HTTP library tools? cURL can easily be scripted in a variety of ways and can be used as a downloader to siphon off data. Remember the famous media defined “hacking tool” that Snowden used? wget? There are many use-cases where you simply do not want a tool interacting with your site.
Selectively Blocking BOT Categories
Under your
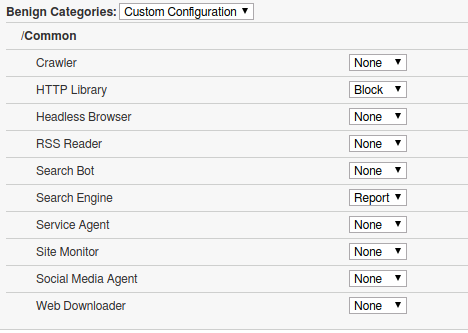
webgoat_DoSprofile in Application Security > Bot Signatures click on the Edit link for the Bot Signature Categories section.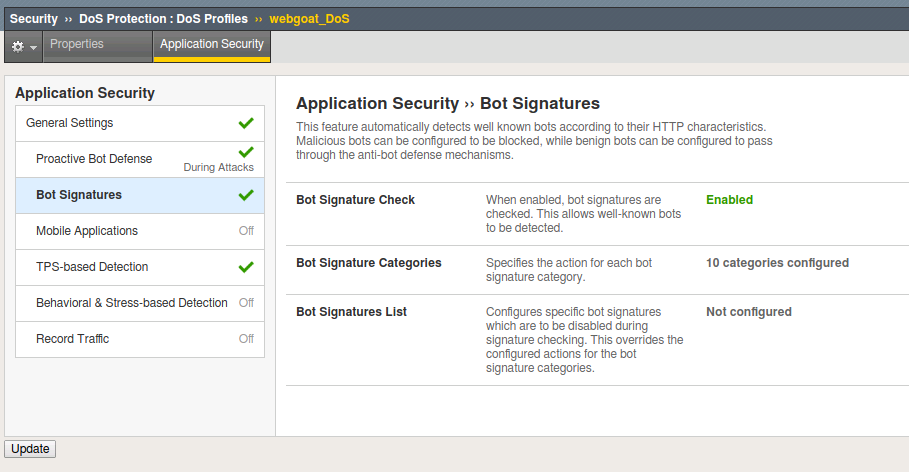
Change the HTTP Library action from None to Block under the Benign Categories section and click Update to apply the policy changes.
Run cURL again:
curl https://webgoat.f5demo.com/WebGoat/login -k -v | more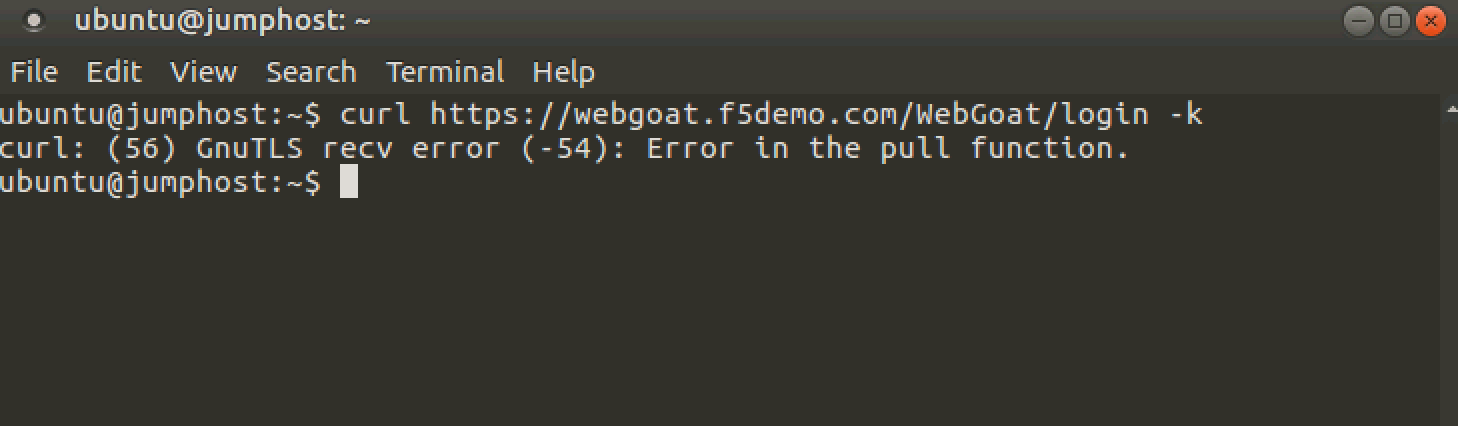
Whammo!!!… as soon as the BOT is revealed… the connection is dropped. The TLS doesn’t get established.
Let’s say we actually DO want to allow cURL or another automated tool. We may have developers that rely on curl so let’s whitelist just that.
To Whitelist cURL:
- Edit the Bot Signatures list and find curl. Move it to disabled signatures and click Update.
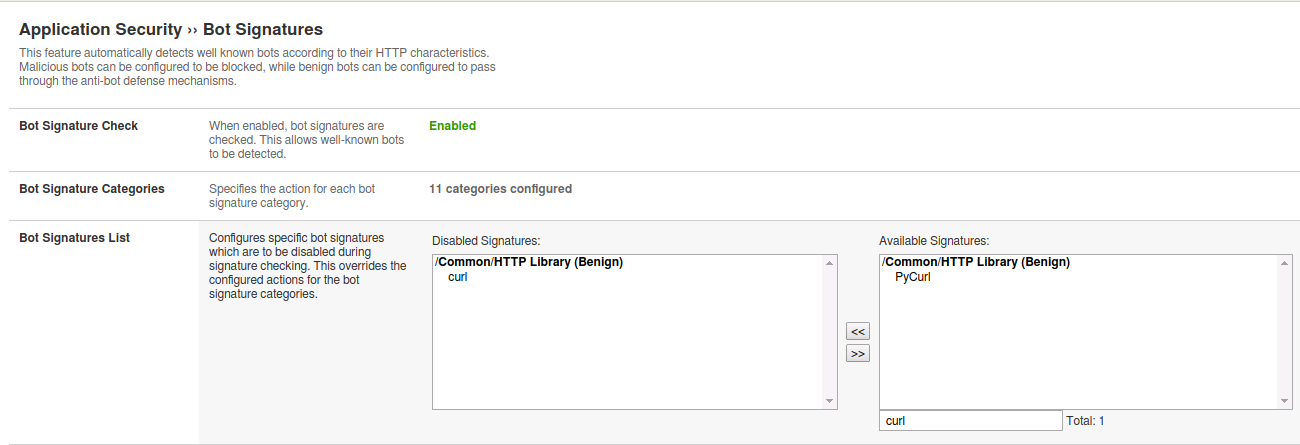
- Run cURL again:
curl https://webgoat.f5demo.com/WebGoat/login -k -v | moreand you should be back in business. By now you should know the expected output. - Change HTTP Library to: Report and remove CURL from the whitelist.

- Modify the
webgoat_DOSDos Profile operation Operation Mode to:Alwaysand click Update.
cURL from Different Geolocations
Note
We are going to leverage an overlay virtual server to randomize source IP addresses similar to the earlier lab concept of randomizing XFF.
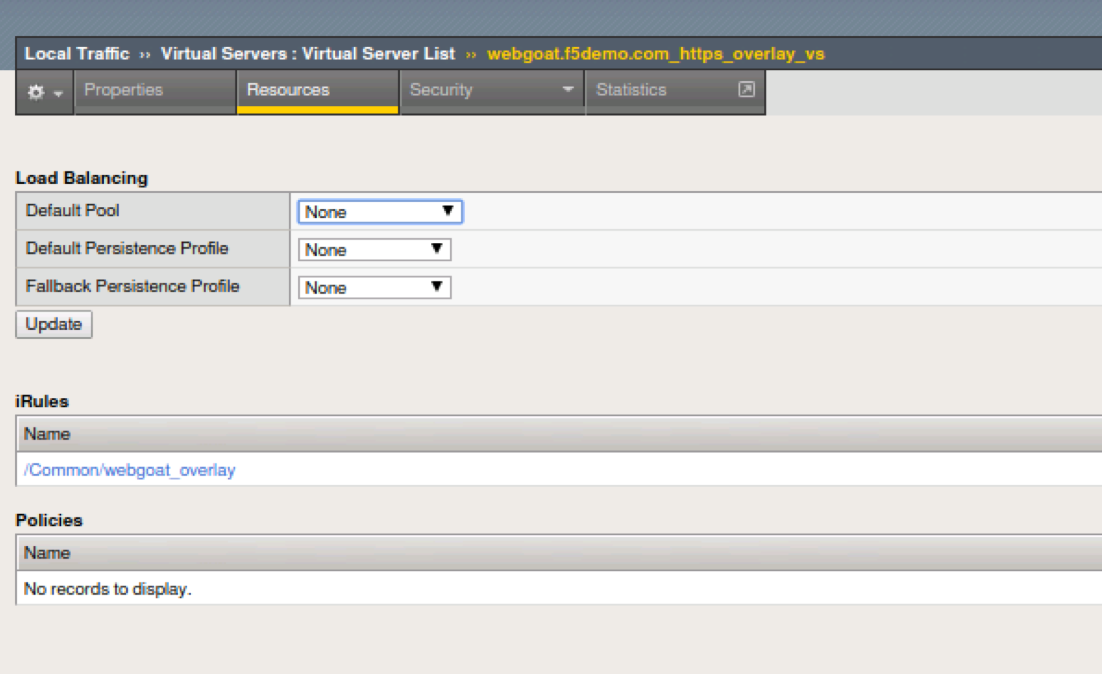
1. Open Local Traffic > Virtual Servers and click on webgoat.f5demo.com_https_overlay_vs.
Go to the Resources horizontal tab and verify that the iRule webgoat_overlay is applied. Freel free to check out the code in the iRule. This code and BIG-IP flexibility makes lab testing and simulations a breeze.
- Modify the cURL command to point at the overlay virtual server and run several times:
curl https://10.1.10.146/WebGoat/login -k -v | more - Review the event logs at Event Logs > Bot Defense You will now see geo-data for the BOT connection attempts.
- Navigate to Security > Overview > Application > Traffic and review the default report elements. You can change the widget time frames to see more historical data.
- Click Overview > Application > Traffic and override the timeframe to past year:
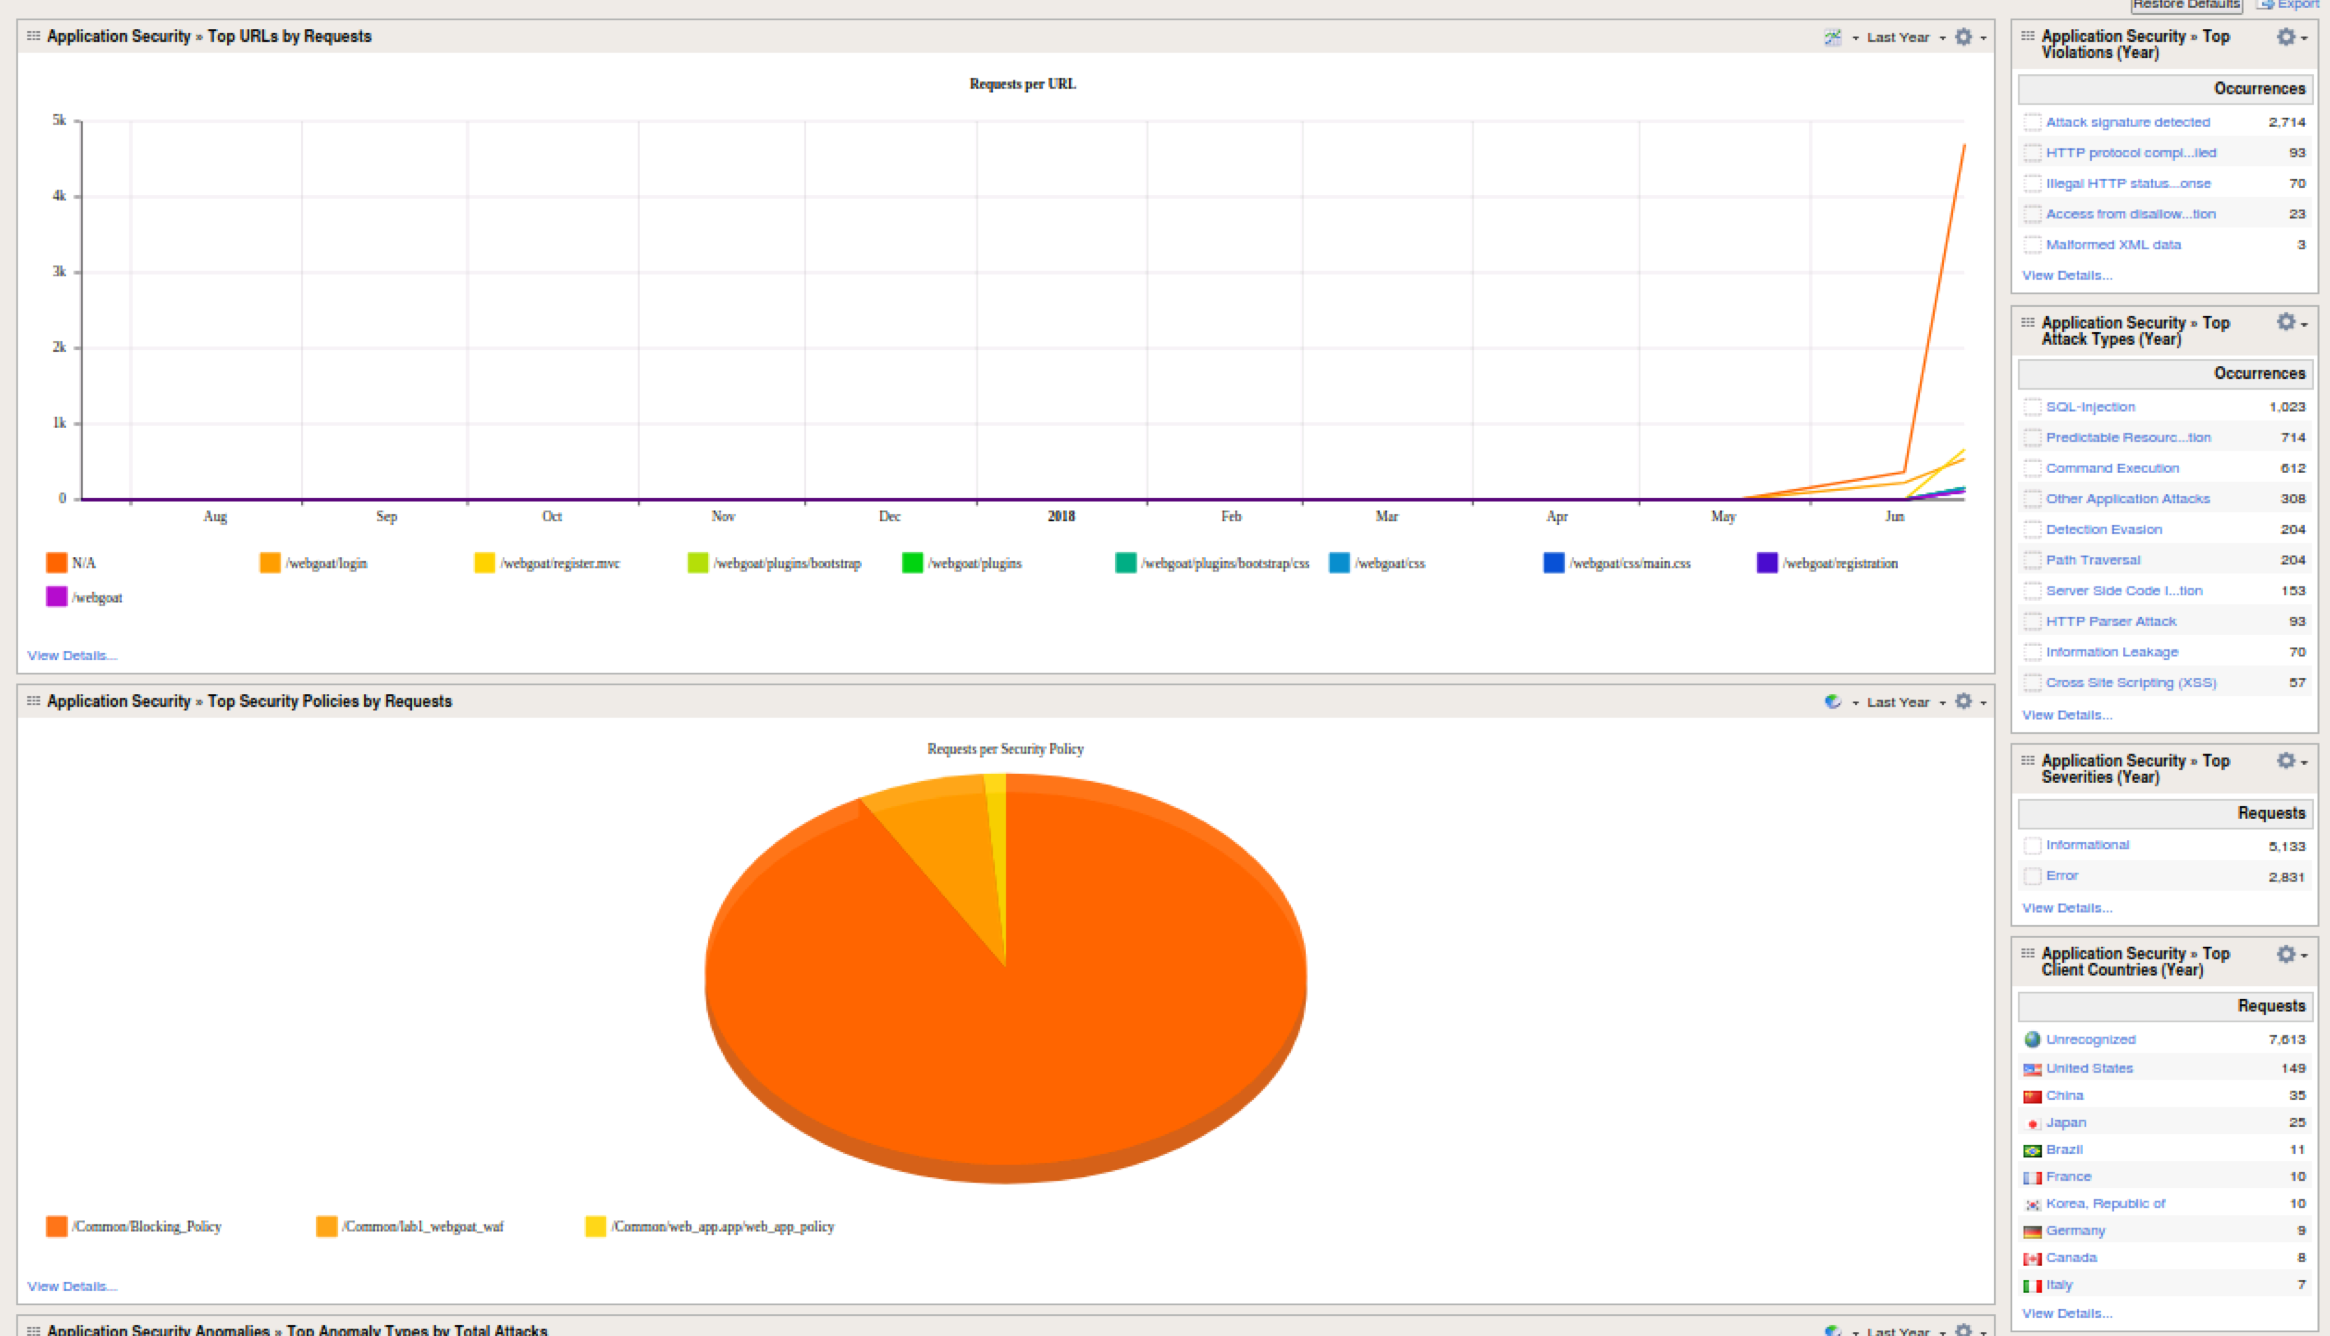
- Take some time reviewing this screen and practice adding a new widget to see additional reporting elements:
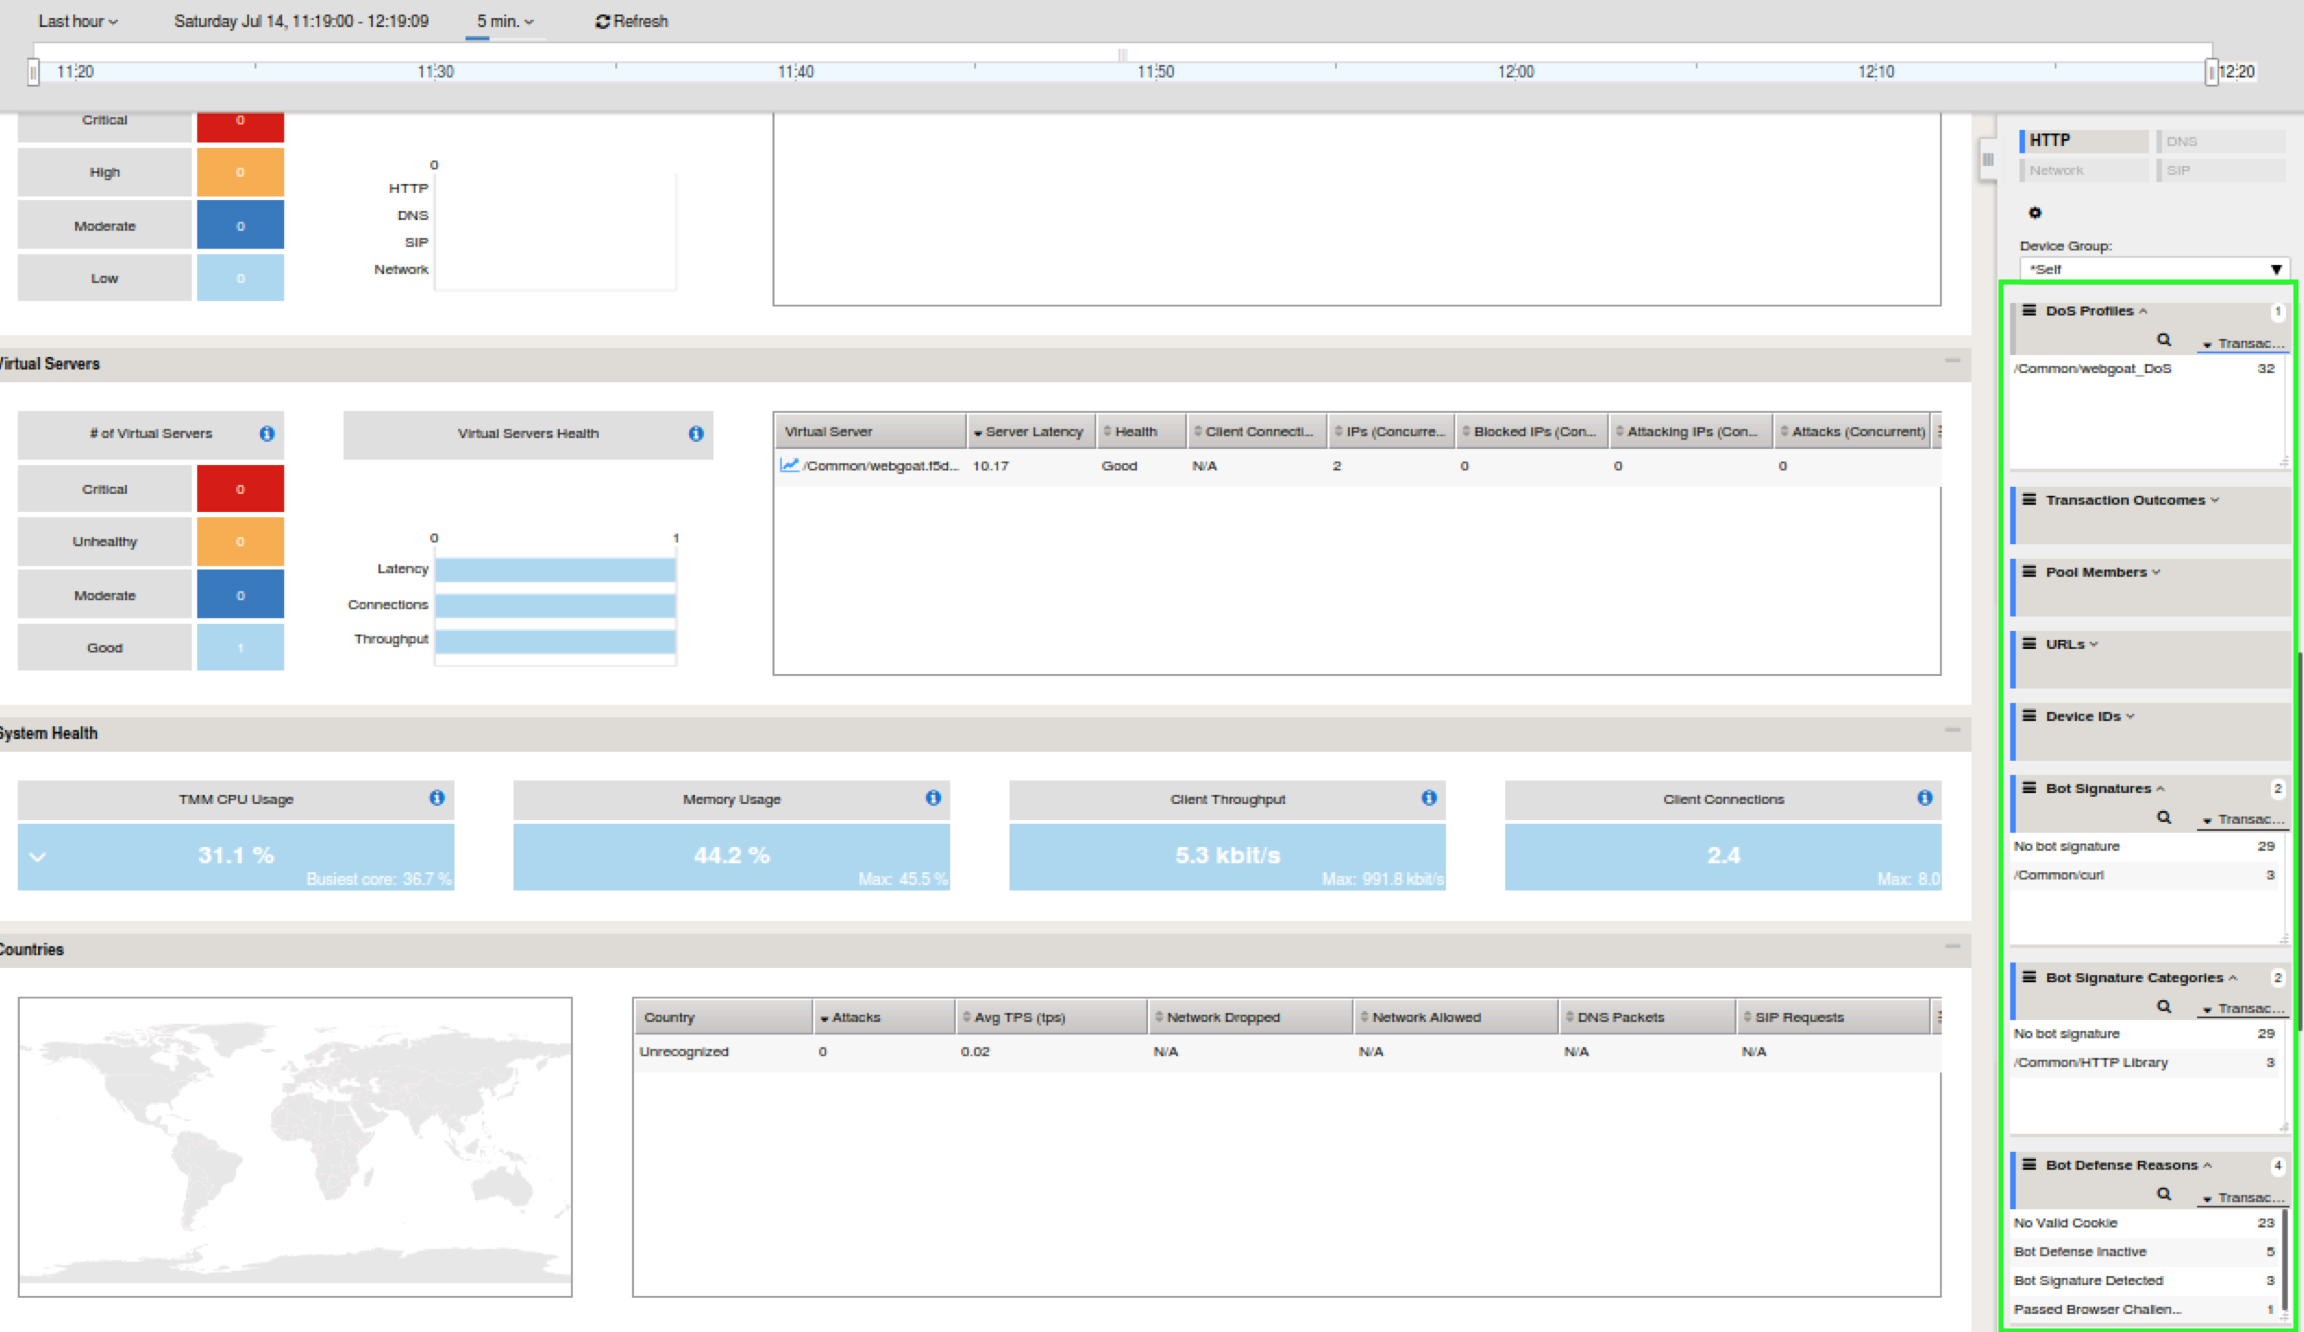
- Click the DoS tab at the top. In some time…The DOS Visibility Screen loads.

Note
You may need to change your time in the system tray for accurate results.
Although there have not been any L7 DoS attacks some of the widgets along the right contain statistics from the BOT mitigations. Change the time window (top left) from 5 minutes to “All Time” so see more data.
- Click the Analysis tab at the top and review the graphs available to you.

- Click the Custom Page tab at the top and review the graphs available to you.
Please feel free to add widgets and/or explore the ASM interface further.
This concludes the BOT Protection section of this lab guide!